Cannabis Seedling Guide: Nurturing Young Plants for Healthy Growth
(Ganja Paradise Growing Series)
Give your cannabis seedlings the best start for long-term success.
Introduction
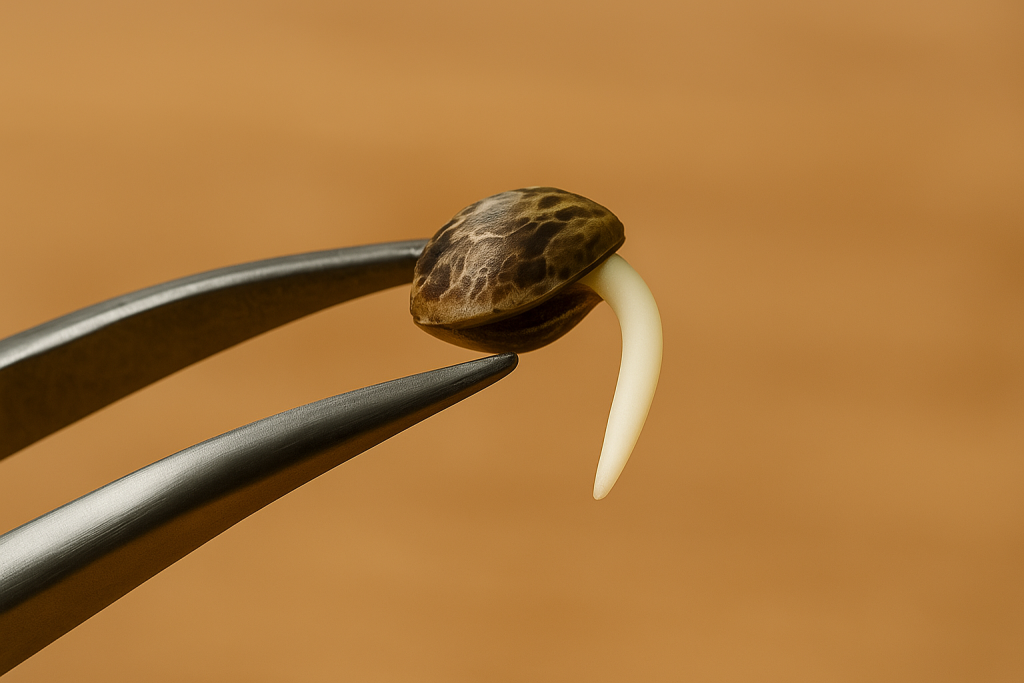
You’ve germinated your cannabis seeds, and tiny sprouts have emerged — congratulations! You’re now entering one of the most delicate stages of cannabis cultivation: the seedling stage. This short but crucial period determines how strong and healthy your plants will be as they move into the vegetative stage.
In this guide, we’ll walk you through everything you need to know about raising seedlings successfully — from media and lighting to watering, nutrients, and troubleshooting — so your young plants can thrive.
1. Understanding the Seedling Stage
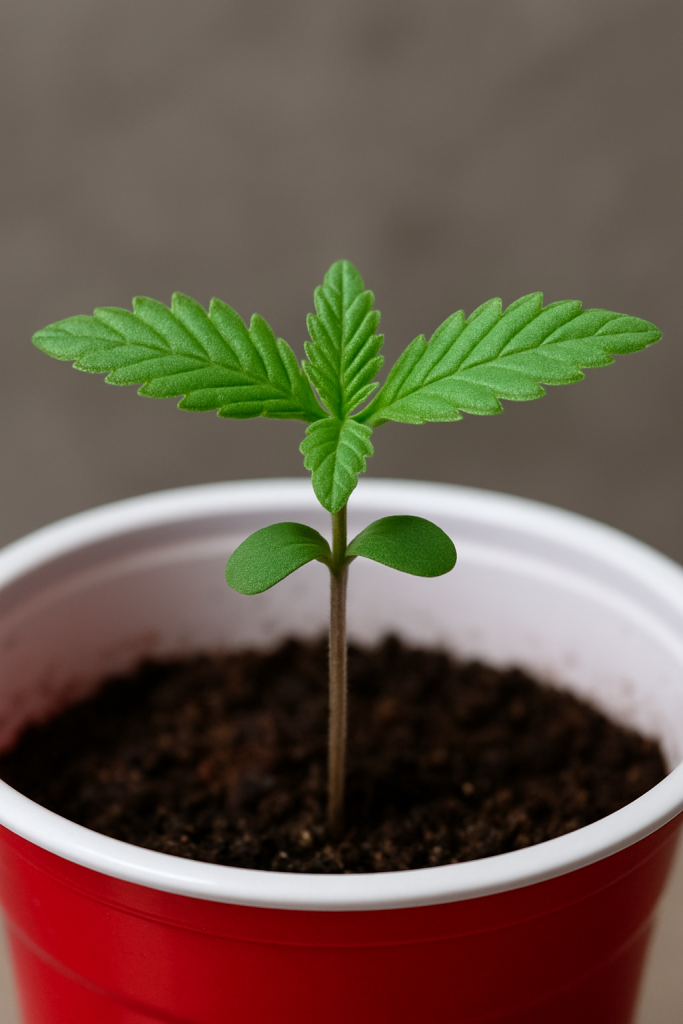
The seedling stage usually lasts 2–3 weeks after germination. During this time, the plant is still fragile, with a small root system and only a few sets of leaves. Seedlings are highly sensitive to stress, so consistency is key.
What makes seedlings different from veg plants?
- Tiny, underdeveloped root systems.
- Thin, tender stems.
- Leaves that appear in pairs (cotyledons, then true leaves).
- Higher sensitivity to overwatering, light stress, and nutrients.
Common mistakes at this stage include drowning seedlings, planting in nutrient-rich (“hot”) soils, or giving too much light too soon.
2. Choosing the Right Growing Medium
Cannabis seedlings prefer a neutral, low-nutrient medium. Starting them in “hot” soils that are heavily fertilized often leads to nutrient burn and stunted growth.
Good seedling media options include:
- Coco coir (excellent drainage, neutral pH).
- Peat moss mixes (light and airy).
- Seed-starting plugs (easy for transplanting).
- Rockwool cubes (commonly used in hydroponics).
The goal is to give roots space and air to grow without overwhelming them with nutrients.
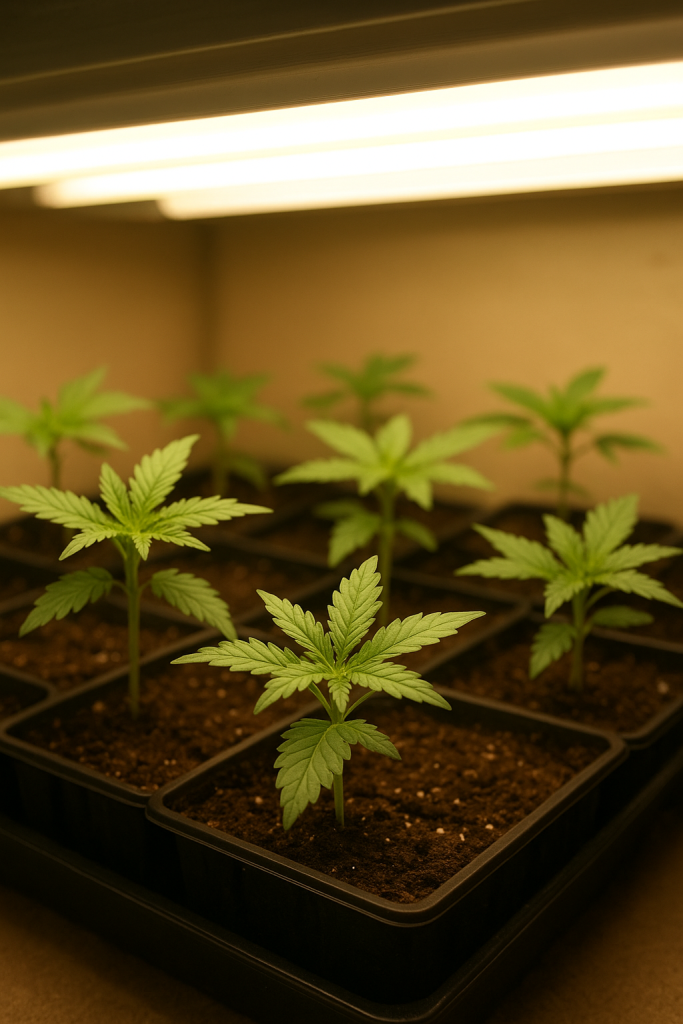
3. Lighting for Seedlings
Seedlings need light, but not too much intensity right away.
- Light cycle: 18 hours on / 6 hours off is standard.
- Types of lights: CFLs, LEDs, or fluorescent tubes work well at this stage.
- Light distance: Keep the light close enough to prevent stretching, but not so close it burns. For LEDs, usually 24–30 inches above seedlings (adjust based on manufacturer guidelines).
Signs of lighting issues:
- Stretching = too little light.
- Curling or bleaching = too much light.
4. Watering & Humidity
Overwatering is the #1 killer of cannabis seedlings. Remember: roots need both water and oxygen.
- Water in small amounts, around the edges of the medium, not directly on the stem.
- Let the medium dry slightly between waterings.
- Ideal humidity is 60–70%, which prevents seedlings from drying out.
- A humidity dome can help early on, but remove it once seedlings develop their first few leaves to avoid mold.
5. Nutrients & Feeding
In neutral media like coco or peat, seedlings won’t have stored nutrients. But they also don’t need heavy feeding right away.
- Wait until seedlings show 3–4 sets of true leaves before introducing nutrients.
- Start at 1/4 to 1/2 strength of a standard cannabis nutrient mix.
- Look out for signs of overfeeding: leaf tips turning brown or curling downwards.
If using a quality seed-starting mix, nutrients may not be necessary until transplanting.
6. Airflow, Temperature & Environment
A stable environment builds strong seedlings.
- Temperature: 70–80°F (21–27°C).
- Airflow: A gentle breeze from a small fan helps prevent mold and strengthens stems.
- Avoid extremes: Sudden drops or spikes in temp/humidity stress seedlings quickly.
7. Troubleshooting Common Seedling Problems
Even with care, seedlings can run into issues. Here’s what to watch for:
- Damping-off (stem rots at soil line): Usually from overwatering and poor airflow. Solution: water less, improve ventilation.
- Stretching: Caused by weak light. Lower the light slightly or switch to a stronger source.
- Yellowing leaves: Could be early nutrient deficiency or pH imbalance. Check pH (5.8–6.5 range) and adjust.
- Weak stems: Often from lack of airflow or insufficient light. Provide gentle airflow and correct light height.
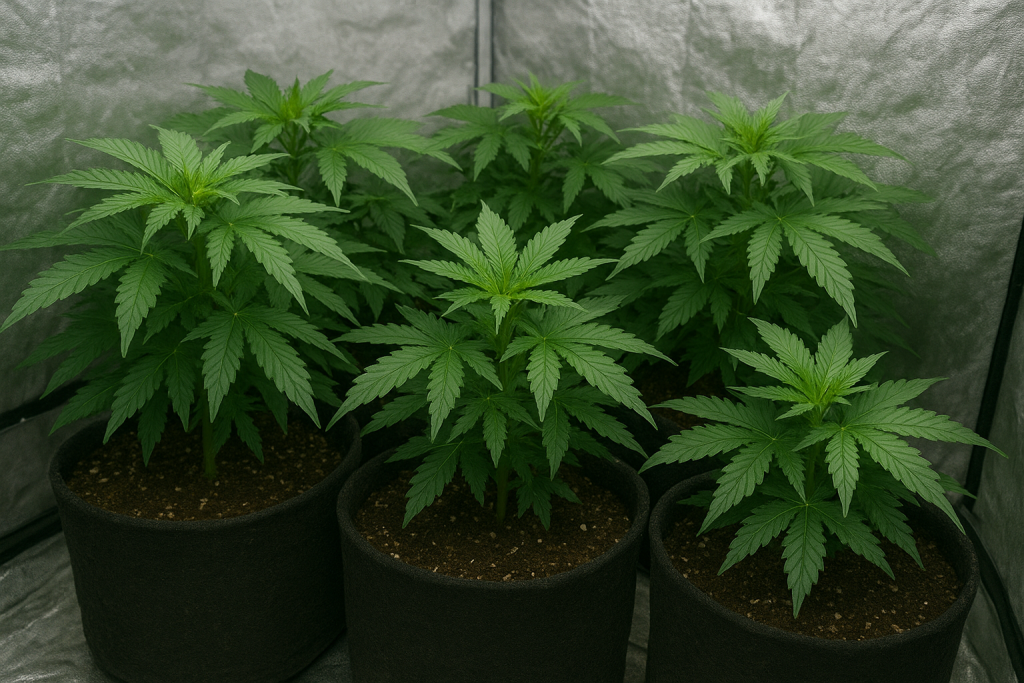
8. Transitioning to the Vegetative Stage
How do you know your seedling is ready for veg? Look for:
- At least 4–5 nodes (sets of leaves).
- Stronger stems that can support growth.
- Roots beginning to fill their container.
At this point, you can increase light intensity, begin regular nutrient feeding, and transplant into a larger pot if needed. This is the bridge into the vegetative stage — where your plant will really start to take off.
Conclusion
The seedling stage may be short, but it sets the tone for the entire grow. Handle your plants gently, avoid overwatering and overfeeding, and provide steady light and airflow. In just a couple of weeks, you’ll be ready to move into the vegetative stage with healthy, thriving cannabis plants.
At Ganja Paradise, we’re building step-by-step cannabis growing guides — from seed germination to harvest — so home growers can learn and succeed at every stage. Next up: the Vegetative Stage Guide.