Cannabis Flowering Stage Guide: Growing Big, Resinous Buds
(Ganja Paradise Growing Series)
Master the critical flowering stage for maximum yield and potency.
The flowering stage is arguably the most rewarding part of cannabis cultivation. This is when your plants shift their energy from vegetative growth to producing dense, resinous buds. Mastering this stage means balancing environment, nutrition, watering, lighting, training, and pest management—so that by harvest, you’re rewarded with potent, high-quality flowers.
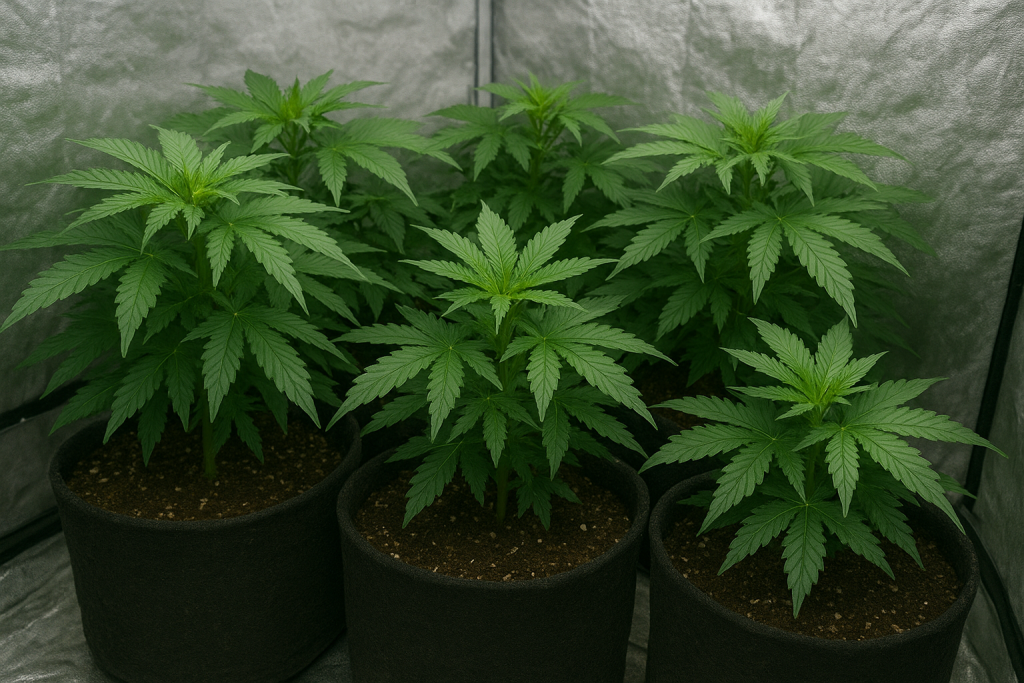
Transition to Flowering
For photoperiod strains, flowering begins when plants receive 12 hours of uninterrupted darkness and 12 hours of light. Indoors, this is triggered by adjusting your light cycle. Outdoors, the natural shortening of days initiates bloom.
Autoflowering strains transition on their own, typically around 3–6 weeks after germination, regardless of light cycle. They follow a fixed genetic timeline, usually completing their life cycle in 8–10 weeks.
Environmental Essentials
Flowering cannabis requires more precise environmental control than earlier stages. By contrast, during the vegetative stage plants are more adaptable and can tolerate a wider range of conditions while building strong roots and stems.
- Light: Strict 12/12 schedule for photoperiod plants. Darkness must be absolute—light leaks can stress plants or cause hermaphroditism.
- Temperature: Maintain 70–85°F (21–29°C). Slightly cooler nights (by 5–10°F) mimic natural conditions and may enhance color.
- Humidity: Start around 40–50% RH in early flowering, lowering to 35–40% by late bloom to prevent mold and bud rot.
- Airflow: Use oscillating fans to keep air moving above and below the canopy. Strong ventilation prevents hotspots, strengthens stems, and reduces disease risk.
Weekly Breakdown
Weeks 1–3: Stretch & Early Bloom
- Plants can double or even triple in height during the “stretch.”
- White pistils mark the first signs of buds.
- Apply low-stress training (LST) or SCROG (screen of green) to maintain an even canopy and maximize light distribution.
- Remove small lower branches (“lollipopping”) to focus energy on main bud sites.
- Nutrients: still moderate nitrogen demand—begin transitioning from veg nutrients to bloom nutrients (approx. 2-1-2 NPK).
Weeks 3–6: Budlet Formation & Bulking
- Calyxes stack and flowers start to take shape.
- Nutrient demands shift further—reduce nitrogen, increase phosphorus and potassium. (Approx. 1-2-2 or 1-3-2 NPK).
- Keep a close eye on pH and avoid stressing plants with overfeeding.
- Bud aroma intensifies—consider odor control (carbon filters, negative pressure).
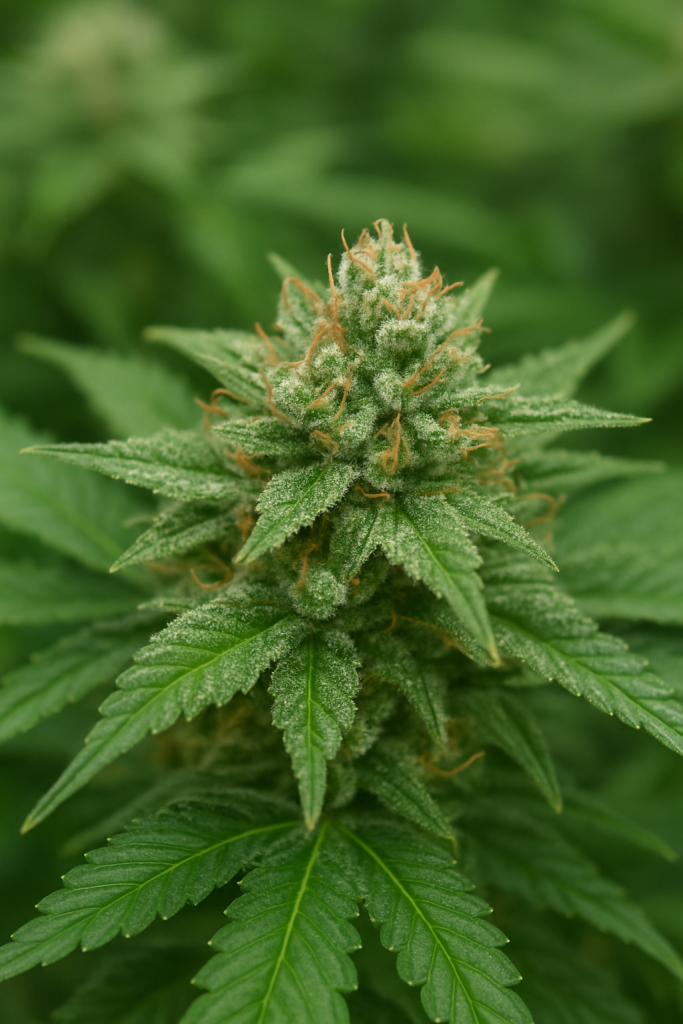
Weeks 6–10+: Ripening & Harvest Prep
- Buds swell and resin glands (trichomes) become highly visible.
- Pistils darken and curl inward; trichomes shift from clear → milky → amber.
- Lower humidity to 35–40% to avoid bud rot.
- Support heavy branches with stakes, trellis netting, or plant yoyos.
- Nutrients: nitrogen is nearly eliminated; focus on potassium for density and resin production (approx. 0-2-3 or 0-1-2 NPK).
- In the final 1–2 weeks, flush plants with pH-balanced water only—this helps improve taste and smoothness after harvest.
Watering During The Flowering Stage
- Dry-back between waterings: Let the top 1–2 inches (2–5 cm) of soil dry before watering again. This encourages healthy root growth and prevents fungus gnats or root rot.
- Even, deep watering: Water until you see 10–20% runoff from the bottom of the pot. This ensures the entire root zone is hydrated and prevents salt buildup.
- Avoid overwatering: roots need oxygen as much as water.
- Monitor plant signals: Drooping leaves can signal both under- and overwatering. Learn your plant’s “happy look” to better time waterings.
- Adjust frequency as buds bulk up: As flowers develop, plants may drink more. Monitor pot weight and soil moisture regularly.
- Watch humidity: Standing water or soggy soil can raise humidity, increasing the risk of mold or bud rot—especially late in flowering.
- Quality of water: Use filtered or pH-adjusted water (around pH 6.0–6.5 in soil). Poor water quality can lock out key nutrients.
💡 Pro Tip: Water at the start of the light cycle. This gives plants time to absorb moisture and dry out before the dark period, reducing excess humidity that could encourage mold in dense buds.
⚠️ Common Mistake: Don’t water on a fixed schedule. Always check soil moisture and pot weight first—watering too often is a bigger risk than underwatering during flowering.
Training, Pruning & Support
- Early flowering is the last window for training—use LST or SCROG to shape the canopy.
- Pruning (lollipopping) lower growth improves airflow and concentrates energy on main colas.
- Defoliation should be minimal—remove only large leaves blocking light to bud sites.
- Support heavy branches late in flowering with stakes, trellis, or nets to prevent snapping.
Lighting During the Flowering Stage
Light is the most important trigger for cannabis to enter and stay in the flowering stage. Unlike the vegetative stage—where long days promote leafy growth—flowering requires strict control of both light intensity and darkness.
Light Schedule
- For photoperiod plants, maintain a 12 hours light / 12 hours total darkness cycle. The dark period must be uninterrupted—any light leaks can stress plants, delay bloom, or trigger hermaphroditism.
- Autoflowers don’t rely on light cycles, but many growers still use 18/6 or 20/4 schedules. Autoflowers will bloom under almost any schedule, though yields may differ slightly.
Light Intensity & Spectrum
- During flowering, plants benefit from stronger light intensity than in veg. Aim for 600–1000 µmol/m²/s PPFD across the canopy.
- Spectrum matters: red and far-red light promote flower development, while blue light helps maintain structure and reduce stretch. Full-spectrum LEDs or HPS are ideal.
Light Placement
- Keep lights 12–24 inches above the canopy, depending on the type of fixture and its power. Too close risks light burn, bleaching, or foxtailing. Too far and buds won’t bulk up as much.
- Use a PAR meter or the “hand test” (if the light feels too hot on the back of your hand above the canopy, it’s too close).
Tips for Success
- Keep the canopy even with training—this ensures consistent light penetration.
- Avoid sudden changes in light intensity when flipping from veg to flower.
- Monitor for signs of stress: curled leaves, bleached tops, or slowed bud growth.
Proper lighting during flowering not only maximizes yields but also enhances resin production, terpene expression, and potency.
Pest & Disease Management During Flowering
Buds are dense and sticky, making the flowering stage especially vulnerable to pests and pathogens. Prevention and safe, residue-free control methods are critical.
Common Threats
- Spider mites
- Aphids
- Thrips
- Caterpillars
- Powdery mildew
- Bud rot (Botrytis)
Prevention Practices
- Maintain proper humidity and airflow.
- Inspect plants daily, especially undersides of leaves and deep in buds.
- Keep the grow space clean and avoid bringing in outside pests on clothing.
- Introduce beneficial insects like ladybugs or predatory mites.
Safe Treatments During Flowering
- Neem oil or insecticidal soaps: Only in very early flowering—never on buds.
- Biological controls: Bacillus thuringiensis (Bt) targets caterpillars without harming plants.
- Beneficial insects: Sustain ongoing protection without chemicals.
- Spot treatments: Use alcohol/water sprays (70% diluted) carefully on leaves, never buds.
⚠️Avoid harsh pesticides—they leave residues that can ruin both the safety and flavor of your harvest.
Troubleshooting & Pitfalls
- Overfeeding: More nutrients don’t mean bigger buds; nutrient burn is common in flowering.
- Light leaks: May trigger hermaphroditism or delay flowering.
- Humidity spikes: Greatest risk for mold and bud rot.
- Stress: Avoid heavy pruning, repotting, or other major changes once flowering begins.
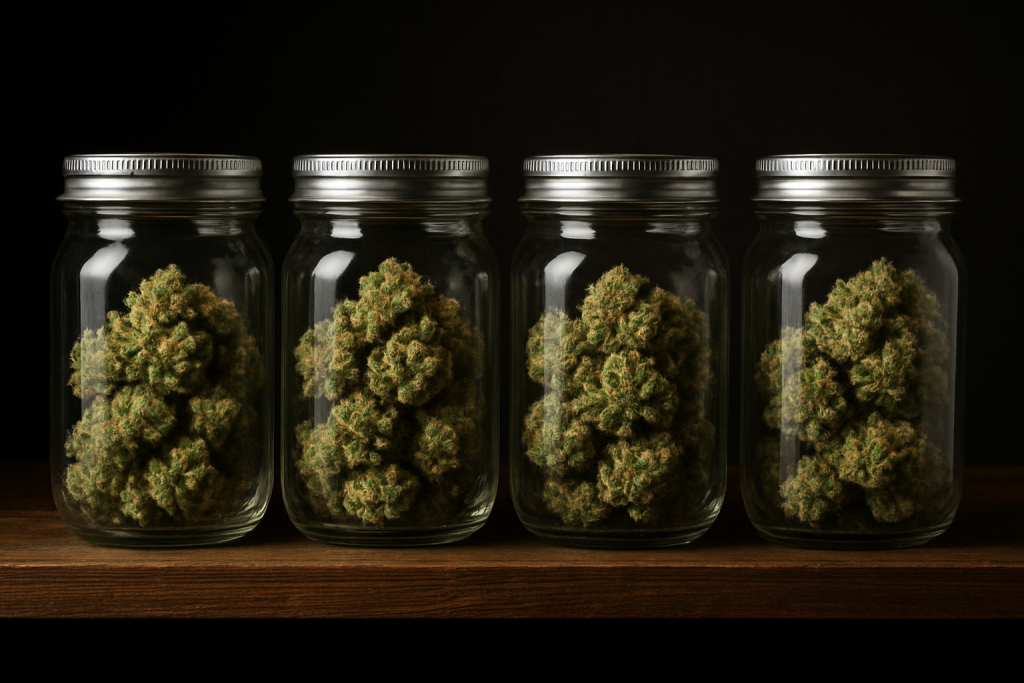
Pre-Harvest Preparations
- Flushing: Use plain, pH-balanced water for the final 1–2 weeks.
- Harvest timing: Monitor trichomes with a jeweler’s loupe or digital microscope.
- Setup: Prepare your drying space in advance—dark, ventilated, 60–70°F (15–21°C), 50–60% humidity.
Conclusion: Transition to Harvest
The flowering stage is the culmination of all your hard work. By dialing in light, nutrients, water, environment, and pests control, your plants will reward you with resin-rich buds ready for harvest.
Next in the Ganja Paradise Growing Series, we’ll cover the Harvest, Drying, and Curing process—where your crop develops its final potency, aroma, and flavor.